Search This Blog

Tuesday, February 25, 2014

Progress of the Spinning Wheel Restoration

Over the last two months I have been slowly working at the Hebrides Spinning Wheel restoration again.

Here's some of the work so far.

I went into production mode to produce nine Bobbins. Three for the Old wheel and six for Sue's wheel. Oak ends and pine shafts. All cut, drilled, glued and roughed down.


I finished off the three Bobbins for the old wheel, staining and using Danish Oil on all four. A coat on the footman as well.


Next was trying to straighten the hooks on the flyer, they were badly rusted and I used a wire wheel in the Dremel to remove that. Three were so bad and thin they broke at the bend, in trying to remove them they snapped off at the base and the last one I tried to remove had rusted itself to the Oak. This caused the arm of the flyer to break. A repair was done. To try remove any of the other hooks would have caused further damage. It would have meant a full replacement of the flyer, I cut them off all the remainder and replaced on the reveres sides with new hooks.

You have to recall this was a Flax wheel and when spinning Flax water is used between the fingers while feeding it in, hence the ware on the hooks, orifice and the timber.


In the photo above showing the repair I had glued you can also see an earlier repair has been done just above.

Below hand drilling pilot holes for the new hooks on the opposite side to original hooks.

  Bellow sanded and stained.

While cleaning the hooks I also had to clean the rust and scale off the shaft and orifice.
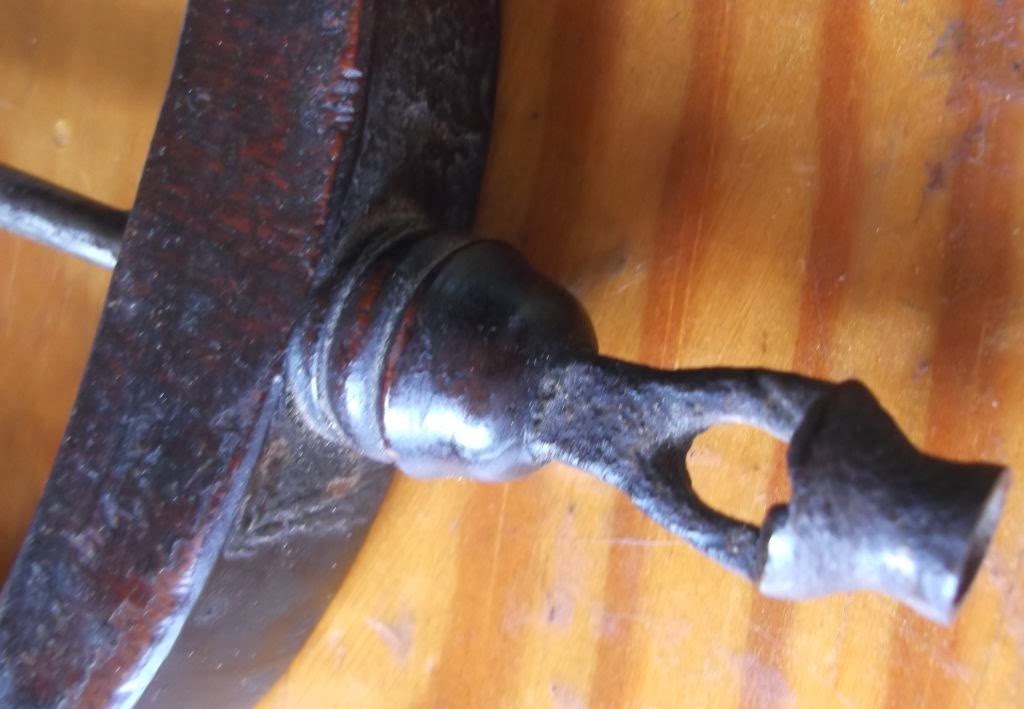


Photo below after wire wheel had been around it.


The original Treadle was made from Cedar and had rotted so much the shaft and wood around it had been roped together there was little shaft left on one side so I replaced both shafts.

I made the new treadle/footman up out of English Oak in the style of the Cedar one which I doubt was original at all.

It all had to be lined up and drilled the holes. Epoxy the shafts into the treadle. 
I had to decide what to do with the leg as it had been re-drilled a few times and shortened making the balance of the whole wheel off kilter. I turned up a longer piece and attached it as can be seen in the photo below.
This join proved to be a real problem as PVA glue didn't hold so Epoxy was used. Its in a spot which will get a lot of torsional action with use of the treadle. 


 Below is the join and the old end which shows the number of times it had been drilled and difference in size.
  Below the Flyer and new hooks fitted, Whorl cleaned and oiled.

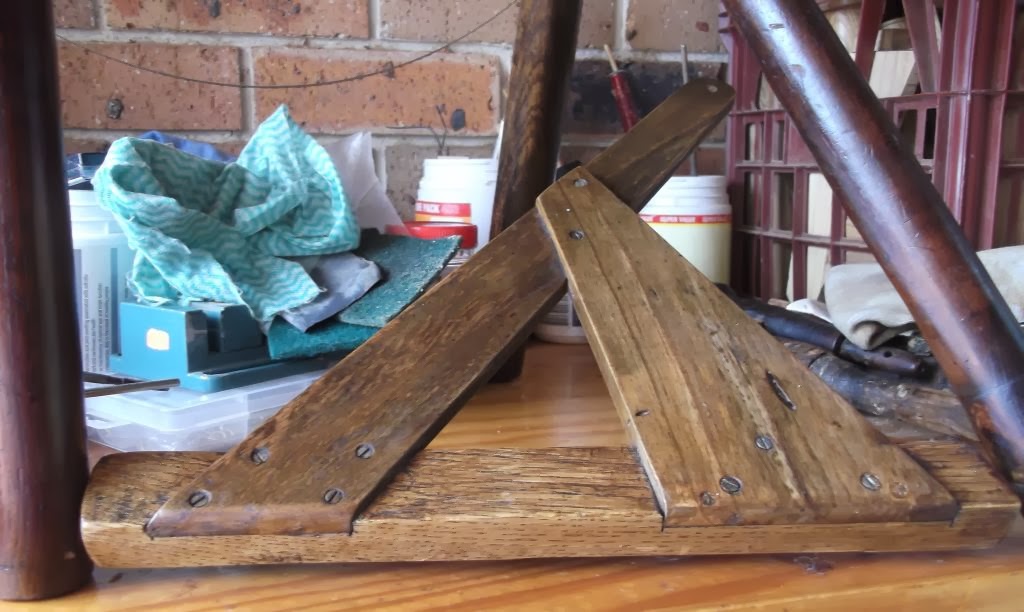
 Below is the Old Treadle of Cedar, the left side shows where the shaft was exposed when the rope was removed. The Cedar piece crumbled away into 4 bits.

Below the New Treadle when assembled. I used a wash to try bring it to match the Cedar rather than match the main body of the wheel.


There is still much to do but its all small fiddly bits and will take time as glue has to dry then the area's need to be worked stained and finished.

Tight and Sticky Chuck

My three jaw chuck on the ML7 for some reason was becoming more and more of a fight to use with the T-wrench. I had no idea why other than swarf had entered into the gears, or binding the jaws themselves.
Neil had been around and used the lathe and  being one who works with them often he agreed. He quickly removed the jaws and cleaned out the worm drive and ways of the jaws it freed it up a little.

Some weeks later I had a small job to do and again the jaws were tighter than they should be to move. So the plan was to one day remove said chuck from the face plate and clean and service completely. We all know that's not what happened it took three days.

Removing the jaws then the chuck from the face plate no problem. .

Remove the back plate screws from the chuck easy, while doing so I noticed what appeared at first to be rust marks around the edge of the body and plate. Now even as a novice I know rust is not a good thing for a chuck. I scrapped at it and found it to be sticky ?????

Outer screws are retaining screws for T-wrench gear
Inner screws secure the back plate
Note:- Top of photo rust/goop


I removed the securing screws for the T-wrench pinion gears which Neil had pointed out were miss-matched in location, removed those and again I spotted a substance looking much like rust in the gear area.

Time to work out how to remove the back plate and worm drive. Using a brass drift and light taps in between each way gap there was movement. I continued going round each a little at a time, off came the back plate and what a mess. I then continued with the worm gear again some sticky rust looking gloop.

Then it dawned on me this wasn't rust it was wax a great dollop of it in one area around the inner edge of the body of the chuck and gears etc.
There was no sign of  any metal swarf of major worry at all.

Everything soaked in Kero to loosen up the wax and clean all parts even the screws.

Out came the brass wire brush and every gear was brushed to remove final traces of the wax which was caked on. This had the appearance of chain lube or real old thick axle grease but smell of ski wax.

Next  checking the jaws in the ways. On each side of all the jaws a ware mark had formed at the edge of the way and they were tight even without any worm and pinion gear driving them.
Each jaw was checked with vernier against the way it should be in and I found there was no difference to allow smooth movement or play.

I used the disc sander with 120grit holding each jaw verticle 90deg and removed the mark from each side until each one would slide with slight force through the ways. I then using a Diamond plate lapped them to a finish.  Each jaw was tested with all gears assembled as I proceeded with each jaw individually.
checking individual jaw movement

With everything clean washed of any grit again all was re-assembled with a light oil and tested all working much better.

I wonder if the chuck may have been dropped prior my purchase?? It certainly had never been maintained or cleaned of the wax or fine grit.

Arrows show wax deposit
Note: Dark area is where wax had been sitting around outer edge


Arrow showing wax


Ring Gear
Worm drive
  The ring gear and worm drive are one unit just reveres sides.

Worm, ring and pinion gear

Back plate and screws
 Above photo was prior cleaning.

After assembly and mounting back onto the face plate I did use the dial indicator to check for run out on the body of the chuck a reading of .0005" I then check run out on a known true bar and reading was .0002"


Always make sure dial indicator magnetic base is switched on or not near the edge so you can knock it off onto your lap and down to the floor. Dial indicator needed then some repair but is working well.


Tuesday, February 11, 2014

Pen Display Case MkII

Back in October last year the need arose to store and display pens.

A problem was pointed out by Neil (Dai Sensei) in having to many large diameter pens. He wasn't wrong and so I set about making a new display case.

Timber for the sides was Tassie Oak 35mm deep x 12mm thick, thanks to David Dicker for that Oak.
A sheet of ply thanks to Robo from Cumberland Woodies for that, which came from some old crates he had.

Some brass coated piano hinge I had had for years.

I or i should say Sue did purchased some nice looking catches. I have brass corners to get yet they'll come from McJings.

Leather for the handles thanks to Tony Tuma, hope your smiling down on me old mate.

Sue spent a few days making the new interior, Pene Velvet, mounted on old real estate signs with a layer of felt under.

This is the first box I have made in many years.

Glue up and clamped.


 Checking square and matching prior pre-fit of hinge.

 First Coats:- I used Shellac 2 coats but i didn't darken enough so I sanded then applied Walnut Oil which darkened the ply and exposed  the grain better. Three coats of Wipe on Polly to finish with.


 All assembled just need to get the brass corners.

Thursday, February 6, 2014

Wenge Pristina Fountain pen

Having been given some lovely Wenge  (Millettia Laurentii ) off cuts.  I decided to use some of it on a 24kt Gold Pristina Fountain Pen as it has some fine Ornamental work on the centre band and both ends.


The fountain pen features an Iridium Point German nib.

Wednesday, February 5, 2014

Executive Click Pen

Executive Click Pen is a simple yet elegant pen. I made these as I have often been asked do I have any Click type pens. My youngest son being one to do so.
I know why he likes them its the sound of constant clicking and recently there has been commercials and movie's  and TV shows with people doing just that. I used to at school it would annoy teachers just as much as they in turn would do it during test time.


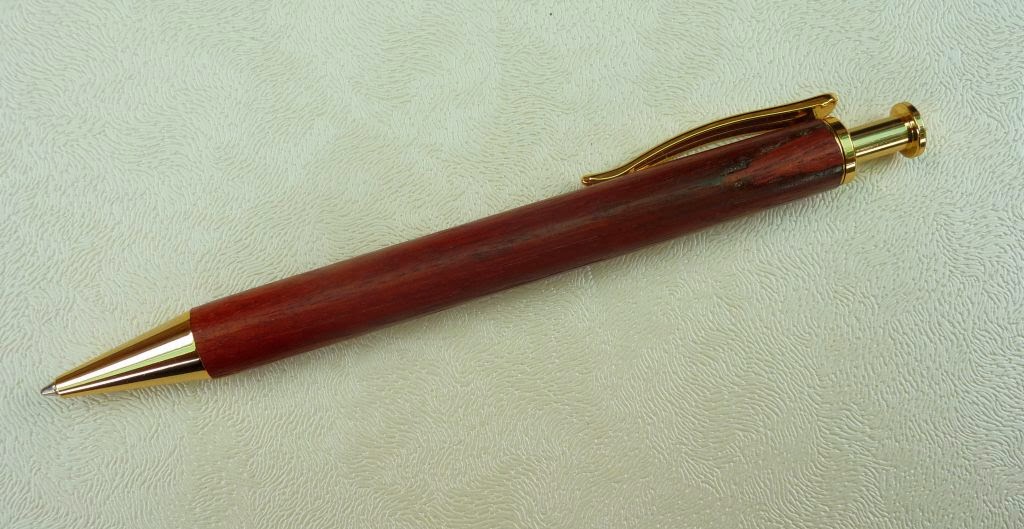
These two are 24ct Gold the top lighter colour is Mango and the other is Jarrah a Satin finish to both.


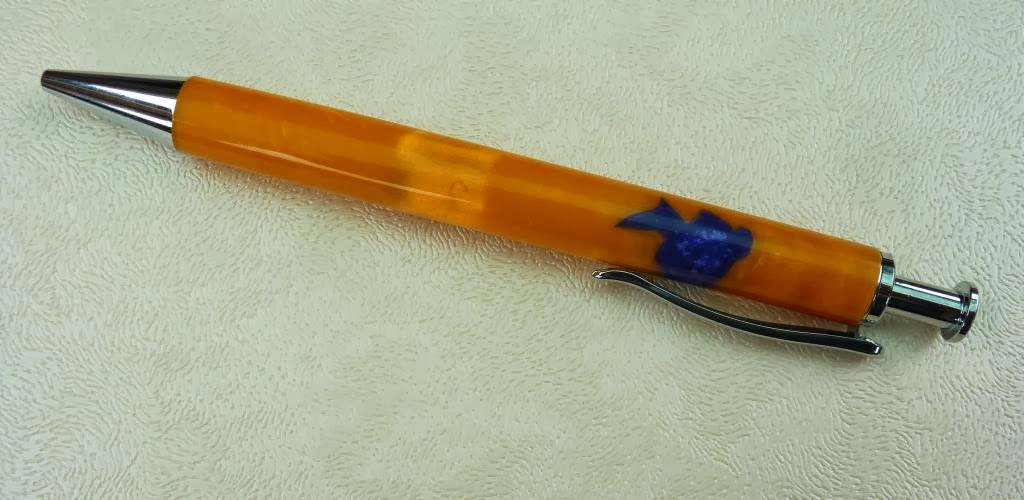
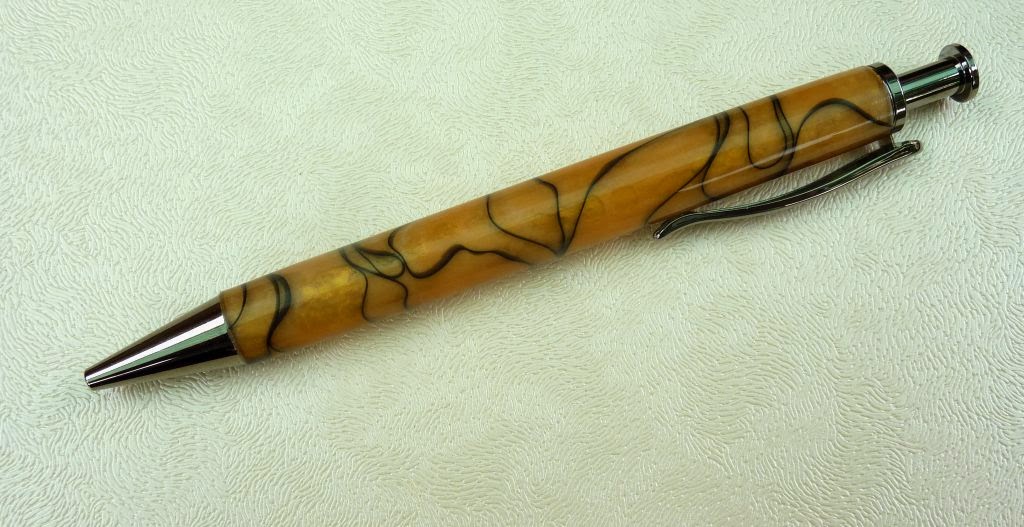
These three are Acrylic.
The first is a Cameo/Orange with Chrome.


 Triviet Chrome and Acrylic
both of which have depth of field which highlights the colours as can be seen below.