
The type of rest this time is a Steady Rest for the Nova lathe. A steady rest gives support to between centres turning it stops flexing of the item being turned, it also acts as an end support for such as deep hollowing of vases etc where these are mounted on a face plate or in a chuck.
The link to the PDF is one of many designs which can be found on the net. It was this one I based my build from as it is designed for a Nova. I changed the two lower arm angles to rise up towards rather than as in the PDF horizontal.
I have designed my own in metal tube but that will be a build at a later stage.
The whole process took me far to long, over four weeks but I nibbled away and did what I could when I could. You'll notice the vast array of mark out lines this was stuffy head syndrome.


I then handed it over to Alan for rounding over the edges on his router table at that point I just didn't have the strength to handle my hand held router.
About a week latter I hand cut and chiseled the rebates for the arms recessed to 10mm to accommodate the arms and help keep them stable. The three arms are made from Merbau, which were off cuts from something else. The arms I routed one was free hand not a good thing to do! the other two were done with a guide in place which kept the cut straighter.


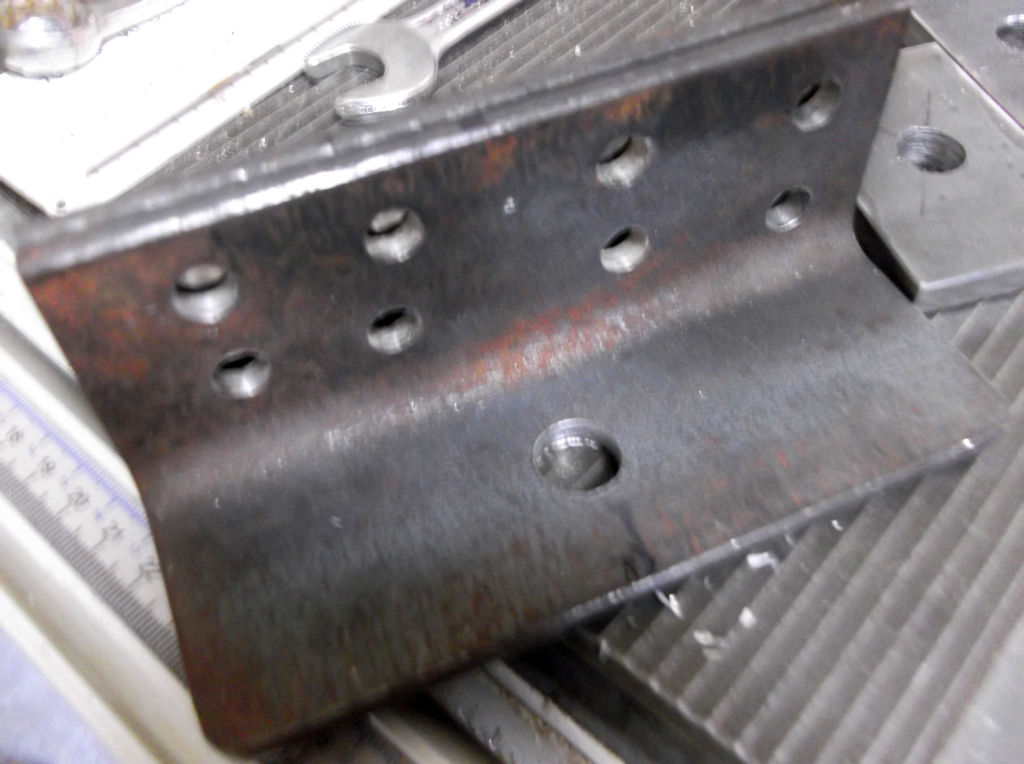
I had some left over 2X50x50x150x6 angle these were drilled 5/16"X8 for use as the base support and mounting brackets and a 1/2' hole for the locking bolts. Two pieces of flat 8mm thick cut and drilled 1/2" to which a 1/2" bolt will be tack welded and become the locking plate.

I had a few knobs about two 8mm and one 5/16" these will secure the arms in place.
The wheels are off a pair of in line skates I bought cheap, $10 a bargain being the wheels alone at stores are now closer to $30 a pair.
Painted the angle black, a double coat or WoP on the frame and arms this morning.
I have to yet tack weld the 1/2 bolts and find new shaft bolts for the wheels to be mounted the original axle shaft bolts are just a little short.


I will trim the bolts so they are flush with the nuts which will avoid accidents.

Updated 2nd September
I was able to tack the1/2 bolts on the plates which hold the frame to the ways early this morning prior our visitors from Melbourne arriving. The plates were cut so they can be dropped into the lathe bed anywhere and rotated to allow them to tighten to the underside.
This reduces the need to remove the two banjos and the tailstock.
 I found the original axle bolt to short to mount the wheels and in my stash from my old wheelchair I found three just right with washers and Nyloc nuts to suit fitted tested on the chuck and a light sand to smooth away the rough surface on the wheels from their previous use.


No comments:
Post a Comment
Your comments are welcome please forgive us if not replied to immediately.